
I Finally Finished My DIY Harvest Dining Room Table
My journey has come to an end on my DIY dining room table last Friday night. The table took me 8 months and 2 days to complete from picking up the wood, to bringing it into the house.
June 23rd was the day I decided to go up to Red Feather Lakes and pick up enough Beetle Kill Pine to build my table that could seat enough people for a nice dinner.

Hindsight being 20/20 I wouldn't carry this much wood again on my Jeep... It was a white knuckle drive all the way back.
The vast majority of the work was done on the legs. They support everything and since I never have really done anything like this before, I wanted to make sure that they were perfect.


Next was the table top. After months of work, I put the boards that were going to be used at the top on to the legs. This is precisely when I realized that it looks more like a table now than it ever has...

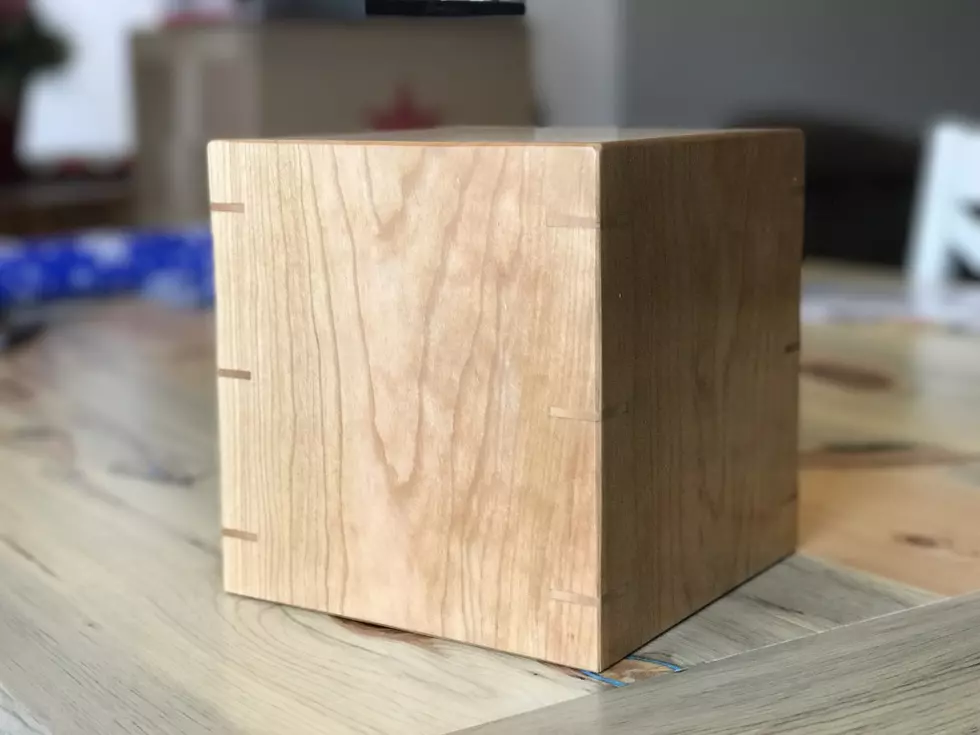
To attach the breadboard ends, I decided to do something totally different and challenging. I got the idea of doing a through, wedged tenon to keep the breadboard end in place. The wood I used for the wedge is purpleheart.

The table top is sanded, but I feel like something is missing from it...

So I did this to the knots and voids in the table top:

After the inlays were done, it was time to seal everything up! After a lot of research, I chose to go with a water based polyurethane as it does not yellow nearly as much as an oil based would.
I hung the legs on my garage to spray them and put the stretcher that connects the legs on a pair of trashcans to seal.

After the final coat of polyurethane, it was time to get the table ready to mount to the legs.

OK, enough of the jabbering... It is time to show you the finished product! Here it is in all of its glory. My finished project, our Colorado Beetle Kill Pine Harvest Dining Room Table:
I have had some people ask me why it took so long. There is no simple answer for this except that this was a learning experience and here is a short list of what I did learn throughout the entire process/ These are all firsts for me:
- How to work with twisted rough sawn wood to make it flat and square
- Mortise and tenon joinery, lots of them
- Dowel joinery
- wedged tenons
- breadboard ends
- using hand planes
- using chisels
- using a jointer to flatten the boards
- using a hvlp gun to spray the polyurethane
There's bunch more, but I wont bore you with all of that.
I am very proud of this. It took so much time to make, but it was totally worth it. To think... This all started out with a trip to the furniture store. We looked for a dining room table, but couldn't quite find one that we loved. When we did finally find one we liked, it was $3,000 and that was exactly when I said "I am making one for us".
I wanted to say thank you to a few people for helping me out on this, first, my wife. Thank you for being patient and letting me build this for you. I know it took quite a bit longer than we expected, but it is done and it is yours now! To my friend Anthony, thanks for helping me pick up tools that were too big to fit in my car. I appreciate you taking time to drive all the way to Denver just to pick up a saw. Jason and Jaime, our neighbors that have spent countless hours in the garage hanging out, chatting with us and helping out whenever they can. I couldn't have done half of the stuff I did without your extra help!

More From 99.9 The Point