DIY Dining Room Table: Sealing the Wood
This weekend I turn the final corner in my DIY harvest table build. I started this table from rough sawn beetle kill pine from Red Feather Lakes. I drove up there in my Jeep and purchased more wood than I actually needed for the project. I am glad I did as I had a learning curve to adjust to. Some of the boards became sacrificial pieces and in the end they were as if they were homework. You know what you do with homework at the end of the school year, right? Throw it away. In my case, they ended up in my newly purchased fire pit.
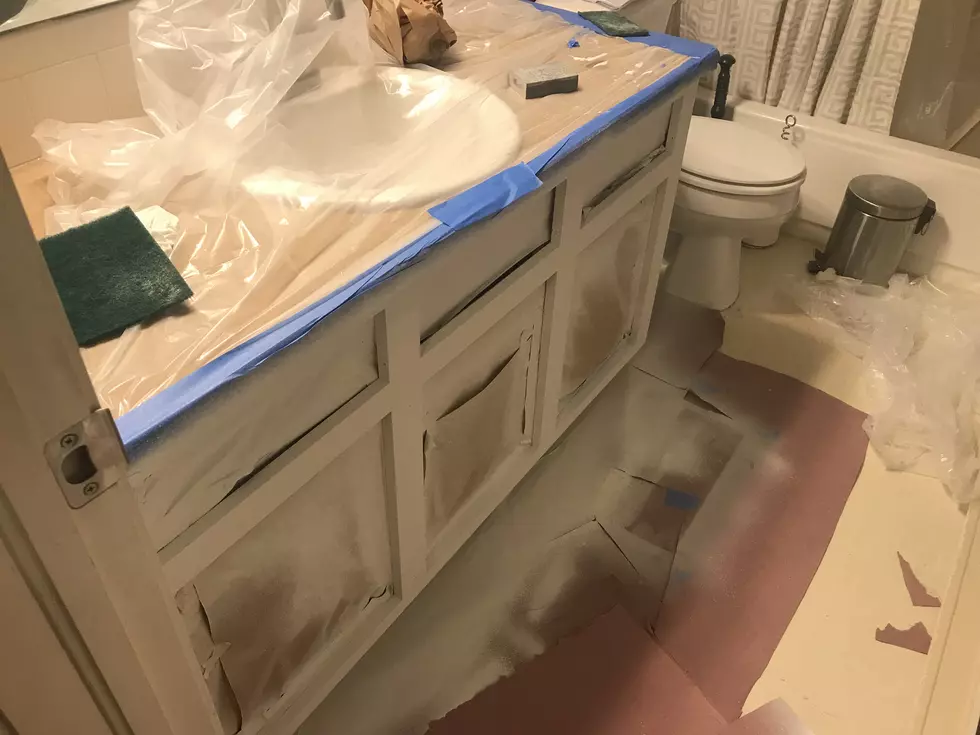
Firewood and a learning experience! On to the work that was done this weekend. The table is all constructed and now it is time to finish the table. For the sealant, I chose to use a water based polyurethane. The water based poly does not yellow pine as much as an oil based option. I purchased a gallon General Finishes semi-gloss. Thankfully, my generous neighbor let me borrow his air compressor. Spraying the finish will be more even and also a bit quicker to apply. Off we go to the photos:
There are a few more coats that need to be applied before I can call it good on the legs. I still have to start on the top of the table. The cracks and some indents have been filled with epoxy and now I have to wait until the epoxy is cured and sand. This is the part I am most excited for! Seeing the final product. Being able to see the grain pop, the turquoise, obsidian, and sodalite come to life. This will be my final post on the table before it is finished completely. I hope to show you the final product soon as I am planning on having the entire project complete by the end of this week.
Bonus photo:
The neighborhood cat comes to visit when I am out in the garage. He has become the garage mascot of sorts. He comes in when I am not running my saw or router and hangs with me for a bit, then goes on his merry way.
More From 99.9 The Point


